Before you change anything
- Confirm the correct venue
- Keep current settings handy
- Test with one device first
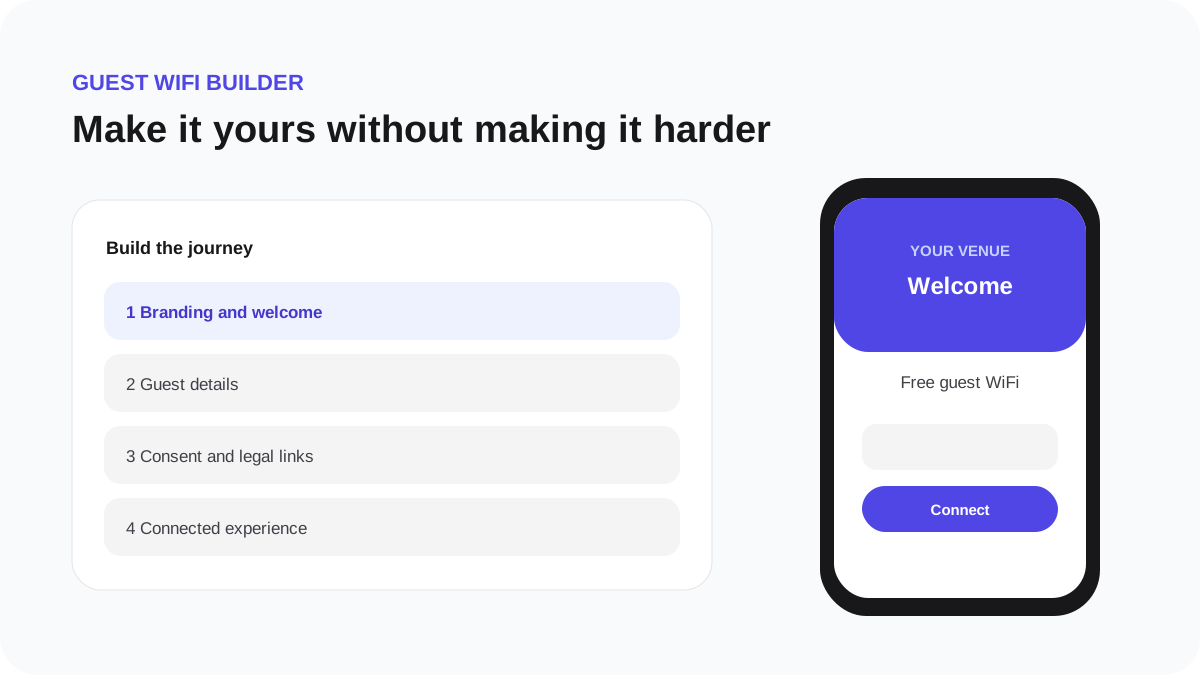
Design a branded guest journey
The best portal looks recognisably like the venue while staying faster and simpler than its main website.
Recommended approach
- Open Guest WiFi Builder → Branding.
- Use the venue logo only if it remains legible on a small phone.
- Choose a primary colour with strong contrast for text and controls.
- Use a calm, relevant background. Avoid busy photography behind form fields.
- Write a short welcome that explains the value: free WiFi, venue updates or a useful connected screen.
- Keep the primary button label direct, such as Connect to WiFi.
- Check every preview stage before publishing.
Quality check
- The venue name is visible immediately.
- Text remains readable at 200% zoom.
- The main action is obvious without scrolling on a typical phone.
- Legal links remain available but do not dominate the page.
- No external font, analytics script or image is required before authorization.
Captive browsers are more restricted than normal browser tabs. First-party assets and a simple layout provide the most reliable experience.