Before you change anything
- Confirm the correct venue
- Keep current settings handy
- Test with one device first
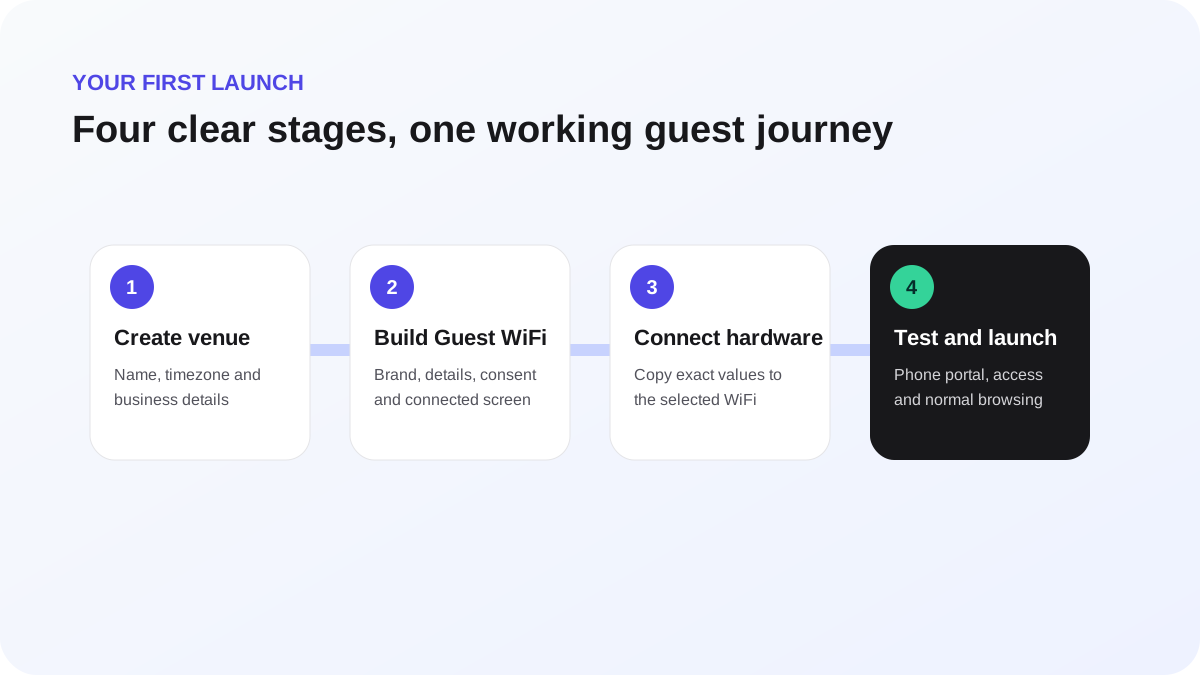
Launch your first venue
Use this order so every later screen has the venue, Guest WiFi version and hardware context it needs.
Before you begin
- Use an owner or administrator account.
- Have the venue name, timezone and public contact details ready.
- Know whether the venue uses Aruba Instant On, TP-Link Omada or Ubiquiti UniFi.
- Plan a quiet testing window when changing the guest network will not disrupt customers.
Launch checklist
- Create the venue in Settings → Venues and select it from the venue switcher.
- Open Guest WiFi Builder. Add the welcome message, brand colours and optional logo or background.
- Choose only the guest details the venue genuinely needs. Required WiFi terms and optional email permission remain separate.
- Choose the connected-screen or redirect experience and preview every guest step.
- Publish the Guest WiFi version.
- Open Hardware, select the venue's WiFi family and create the connection.
- Copy the exact values shown by WeefyBox into the matching guest network. Never reuse values from another venue.
- Run Test connection, then start the guided live test.
- On a phone, forget the guest network, rejoin it and complete the portal.
- Confirm ordinary HTTPS browsing works after authorization.
The setup checklist updates from saved product state and trusted test milestones. A configuration being saved does not mean the guest journey has passed.
Ready means
- Guest WiFi is published for the selected venue.
- Hardware reports an active, tested connection.
- A fresh phone opens the correct venue page.
- Terms can be accepted and the guest is authorized.
- Normal browsing works after the captive window closes.
If one stage fails, keep the support reference and the approximate test time. Do not rotate secrets or change several controller settings at once.