Before you change anything
- Confirm the correct venue
- Keep current settings handy
- Test with one device first
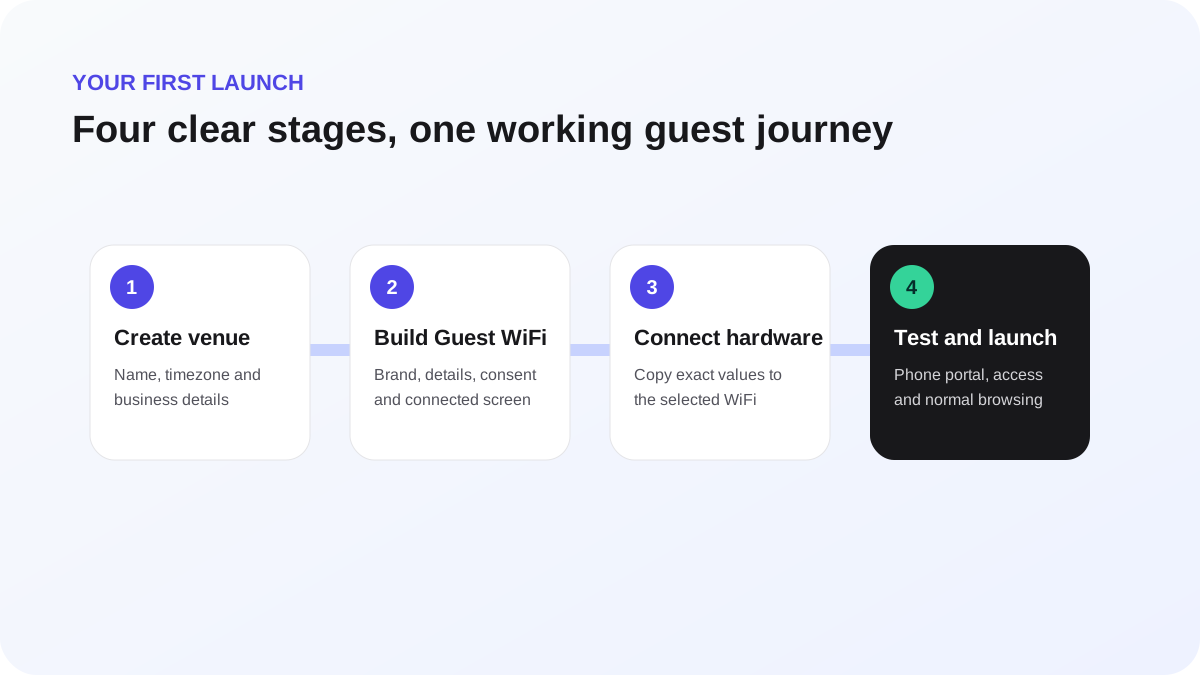
Create and publish Guest WiFi
The Guest WiFi Builder controls the pages a visitor sees before and immediately after getting online.
Build the first useful version
- Select the correct venue and open Guest WiFi Builder.
- Add the venue name, a short welcome and accessible brand colours.
- Keep the form short. Ask only for details that support a clear operational or marketing purpose.
- Review the WiFi terms. Keep optional email marketing permission visibly separate and unticked unless the venue's approved wording says otherwise.
- Choose the post-login result: the WeefyBox connected screen, a social profile, a website or an information screen.
- Set session length and returning-guest behaviour.
- Use the preview to complete every step on phone and desktop widths. Preview data is not added to the Guest CRM.
- Resolve validation messages, then publish.
Publishing creates the version the selected venue's portal will serve. It does not change a WiFi controller by itself.
Good defaults
- One clear headline and one primary action.
- Strong text contrast and an image that still leaves the form readable.
- The fewest required fields possible.
- A connected screen rather than an unexpected external redirect.
- A three-hour session unless the venue has a different operational need.
- Show the portal again for returning guests when fresh terms or details are important.
After publishing, continue to Hardware. The portal URL shown there is bound to the selected venue and its current assignment.